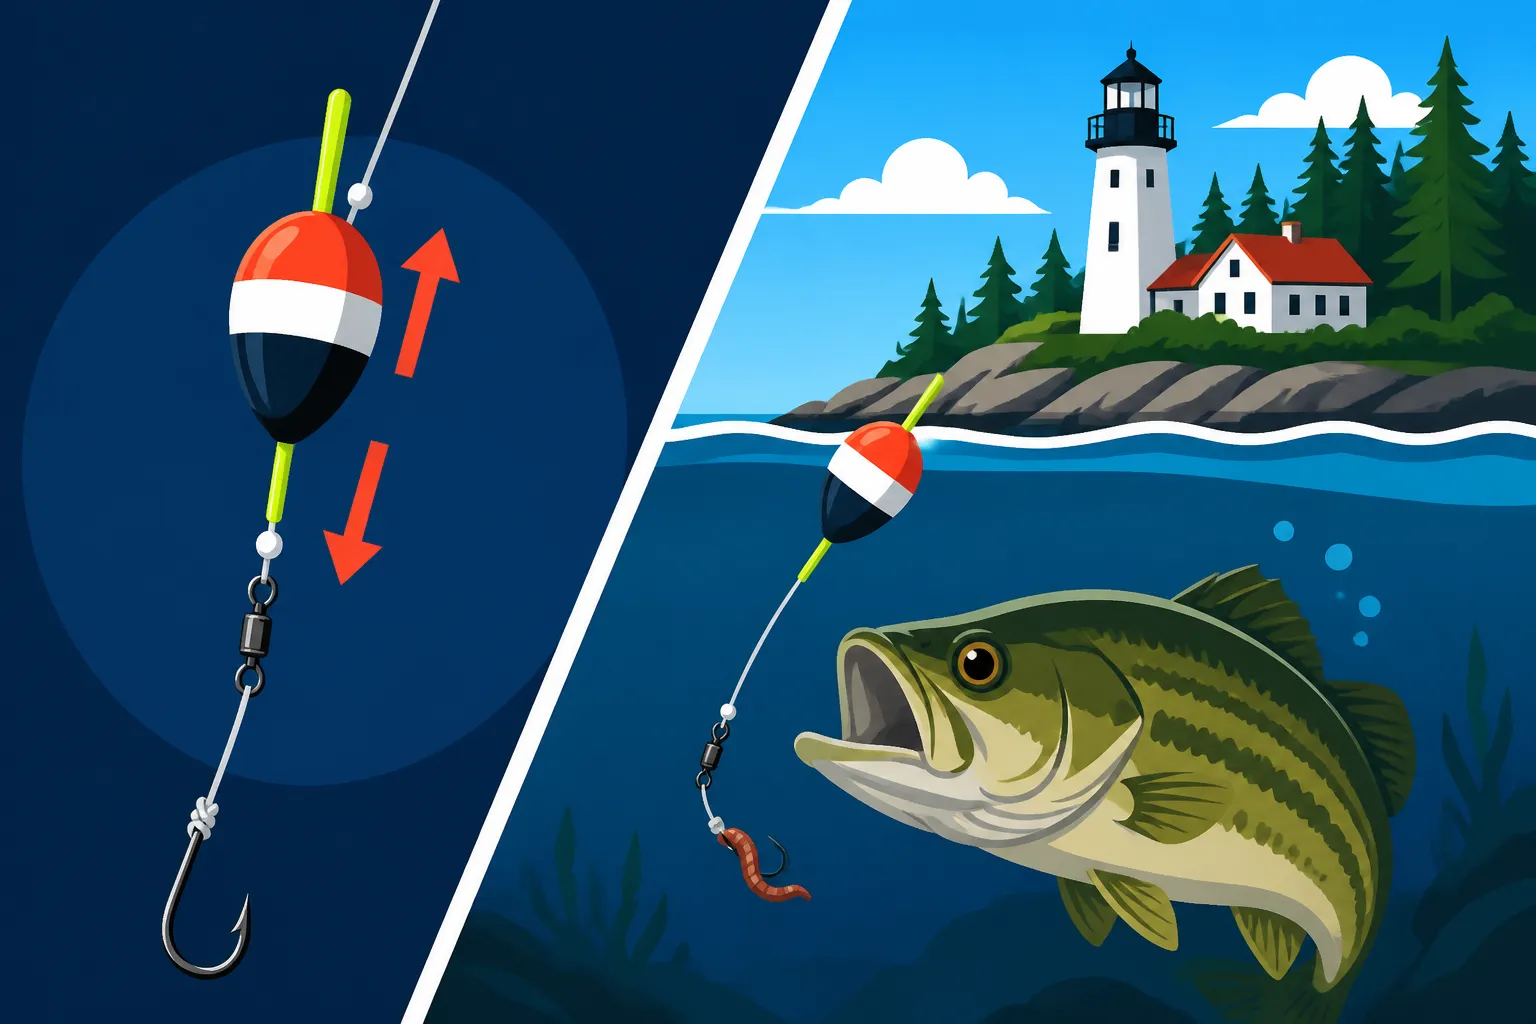
How to Set Up a Slip Bobber Rig
Ever been out on a pristine Maine lake, watching a school of brook trout swim deeper than your fixed bobber could reach? Or maybe you're trying to present a delicate bait at a precise depth for landlocked salmon, but your old setup just isn't cutting it, causing endless frustration. This guide is here to unravel those common fishing dilemmas by walking you through the versatile and essential slip bobber rig, a game-changer that allows you to present your bait at virtually any depth with ease, opening up a whole new world of angling possibilities.
The Freedom of the Slip Bobber: Why Make the Switch?
For many of us who grew up fishing with a simple fixed bobber, the idea of a "slip" bobber might seem a bit overcomplicated at first glance. But once you understand the advantages, you'll wonder how you ever fished without one. The truth is, traditional fixed bobbers, while great for shallow water or keeping bait just under the surface, become a real pain when you need to fish deeper than your rod is long. It's a common struggle, and it's precisely why the slip bobber was invented.
Overcoming Depth Limitations
Imagine you're targeting those elusive Togue in deeper sections of Moosehead Lake or perhaps some quality brook trout that are holding in a cool, deep pocket of a stream after a summer rain. With a fixed bobber, you're severely limited. If the fish are 15 feet down and your rod is only 7 feet, you simply can't cast effectively with a fixed bobber that far up your line. The bobber gets stuck against your rod tip, making casting impossible and frankly, quite annoying.
This is where the slip bobber shines. Because the bobber isn't fixed in place, but rather slides freely on your line, you can set your bait to any depth imaginable. The only limit is how much line you have on your reel! This allows you to effectively present your bait near the bottom of a deep hole, suspend it in a thermocline where fish are actively feeding, or even just a few feet under the surface in a spot that's too shallow for a fixed bobber to sit properly without dragging. It's a level of control and versatility that genuinely transforms your fishing experience, especially in the diverse waters of Maine where depths can change dramatically.
Better Bite Detection and Natural Presentation
Beyond just reaching different depths, a slip bobber offers a much more natural presentation for your bait. A fixed bobber can sometimes feel stiff, preventing your bait from drifting naturally with subtle currents or responding to light tugs from fish. With a slip bobber, your line passes through the bobber itself, allowing your bait to fall more naturally through the water column and move more freely once it reaches your desired depth. This freedom can be key in enticing wary fish like landlocked salmon or finicky brook trout.
The design also often leads to better bite detection. Many slip bobbers are weighted to stand upright, making even the lightest nibble noticeable. When a fish takes the bait, the bobber often lays flat, dips, or slowly moves away, providing clear signals that you might miss with a less sensitive fixed setup. This sensitivity is particularly valuable when the bite is slow or the fish are being tentative, which, let's be honest, happens more often than we'd like when fishing. Plus, the reduced resistance a fish feels when taking a bait on a slip bobber means they're less likely to drop it, giving you a better chance to set the hook.
Gathering Your Slip Bobber Arsenal: What You'll Need
Before you can enjoy the freedom of fishing deeper waters, you'll need to gather a few specific components. Don't worry, these aren't exotic or expensive items; most are readily available at your local tackle shop or through online retailers. If you're looking to stock up, sites like Amazon often have great deals on bulk packs of these essentials. Having the right gear makes all the difference, so let's break down what you'll need to build your perfect slip bobber rig.
The Star of the Show: The Slip Bobber Itself
This might seem obvious, but not all bobbers are created equal. A slip bobber is specifically designed with a hole running through its center, allowing your fishing line to pass freely through it. They come in various shapes and sizes, from slender pencil-like designs perfect for subtle bites to rounder, more buoyant options for heavier baits or windy conditions.
When choosing a slip bobber, consider a few factors. First, visibility is key. You'll want a bright color on top, like fluorescent orange or yellow, so you can easily spot it on the water, even from a distance or in choppy conditions. Second, think about sensitivity. A more slender bobber will offer less resistance to a biting fish, but might be harder to see in rough water. A good all-around choice for many Maine fishing scenarios is a medium-sized, pear-shaped bobber. Look for ones made of durable plastic or balsa wood. Some even come pre-weighted at the bottom, which helps them stand upright in the water, making them even more sensitive to light bites.
Essential Terminal Tackle: Stops, Weights, and Hooks
Once you have your slip bobber, you need the other crucial pieces that make the "slip" magic happen. These include bobber stops, which are arguably the most important component, along with appropriate weights and hooks.
- Bobber Stops: These tiny but mighty components are what ultimately control the depth of your bait. A bobber stop is a small piece of string, rubber, or plastic that cinches onto your fishing line, creating a knot that's too large to pass through the eye of your slip bobber. This stop effectively "stops" the bobber at your desired depth. They usually come pre-threaded onto a small wire loop, making them incredibly easy to apply to your main line. You can find them in various materials, but nylon string knots are very popular because they're adjustable and hold well. Many anglers swear by specific brands of bobber stops, readily available on Amazon or at local shops, as a reliable choice. Always carry extras, as they can wear out or accidentally slide off over time.
- Weights: To get your bait down to depth and keep your bobber standing upright, you'll need some weight. The most common choices are split shot sinkers or sliding egg sinkers. Split shot are small, round lead or lead-alternative weights that crimp onto your line. They're great for fine-tuning your rig's balance. Sliding egg sinkers, on the other hand, have a hole through them, allowing your line to pass through freely, which can be beneficial for reducing resistance when a fish takes the bait. Make sure your split shot or sliding sinkers are of good quality, and Amazon is a great place to compare options and find non-toxic alternatives. The amount of weight you need will depend on the size of your bobber and the bait you're using; the goal is to use just enough weight to make your bobber stand upright, with only the bright top showing, for maximum sensitivity.
- Hooks: The choice of hook depends entirely on the fish you're targeting and the bait you're using. For worm fishing for brook trout, a small Aberdeen or bait holder hook might be perfect. For larger baits for salmon or bass, a stronger, larger hook like an octopus or circle hook could be more appropriate. Always make sure your hooks are sharp and sized correctly for your bait to ensure a good hook set. Check out the Maine Fish Bag Limits Guide to ensure you're using appropriate gear for regulated species.
| Component | Function | Key Considerations |
|---|---|---|
| Slip Bobber | Signals bites, supports bait, slides freely on line | Visibility (bright colors), Sensitivity (shape/size), Durability |
| Bobber Stop | Sets the maximum depth your bait can sink, adjustable | Ease of adjustment, Secure hold on line, Durability (string vs. rubber) |
| Weight | Sinks bait to depth, balances bobber, aids casting | Amount of weight (match to bobber/bait), Type (split shot, sliding sinker) |
| Hook | Attaches to bait, secures fish | Size (match to bait/fish), Type (Aberdeen, Octopus, Circle), Sharpness |
| Bead (Optional) | Protects bobber knot from eye of bobber, ensures smooth slide | Small enough to pass through eye of bobber stop, larger than bobber eye |
A Step-by-Step Guide to Assembling Your Rig
Setting up a slip bobber rig isn't nearly as complicated as it might sound. Once you do it a few times, it'll become second nature. Just take your time, follow these steps, and you'll be fishing with newfound confidence in no time. This setup is perfect for various Maine fishing scenarios, from peaceful pond fishing to targeting larger species in deeper lakes.
Threading Your Line and Attaching the Stop
The first step is getting your main fishing line ready. If you're using a spinning reel, ensure your drag is set properly and you have enough line spooled up for the depths you intend to fish.
- Thread the Bobber Stop: Take one of your bobber stops, which usually comes pre-threaded on a small wire loop. Pass your main fishing line through the wire loop. Then, slide the bobber stop itself off the wire loop and onto your main line. Gently pull both ends of the bobber stop material (if it's a string knot) to snug it onto your line. Don't pull it too tight yet, as you'll need to adjust it. This is the crucial component that will ultimately decide how deep your bait goes.
- Add an Optional Bead: Immediately after the bobber stop, slide a small plastic or glass bead onto your main line. This bead serves a vital purpose: it prevents the bobber stop knot from slipping through the hole in your slip bobber, and it also protects the knot from any abrasive rubbing against the bobber itself. It's a small detail that makes a big difference in the longevity and reliability of your rig.
- Thread the Slip Bobber: Now, take your slip bobber. The end of the bobber that points down towards your hook usually has a small metal eye or plastic loop. Thread your main line through this eye, then continue threading it through the main hole in the bobber, and finally out the top eye or opening. Make sure your line slides freely through the bobber.
- Add another Optional Bead (for the bottom): Sometimes, especially with certain bobber designs or if you want to protect your knot, you might add another bead below the slip bobber, right before you tie on your swivel or hook. This isn't always necessary, but it can provide an extra layer of protection and ensure the bobber slides smoothly.
Adding Weight and Hook for Perfect Balance
With your bobber and stop in place, it's time to complete the business end of your rig: the weight and the hook. The goal here is to achieve a balanced setup that sinks your bait effectively without making your bobber lie flat on the water.
- Attach Your Swivel (Optional but Recommended): While not strictly necessary for every slip bobber rig, attaching a small barrel swivel at this point can be a great idea. It helps prevent line twist, especially if you're using live bait that spins. It also makes it easier to change your leader and hook without re-tying your entire main line. Tie your main line to one end of the swivel using a strong fishing knot, like a Palomar knot or improved clinch knot.
- Add Your Leader (If using a swivel): If you've attached a swivel, tie a length of monofilament or fluorocarbon leader to the other end of the swivel. The leader length can vary, but typically 12-24 inches is a good starting point. This provides a less visible connection to your hook. If you're not using a swivel, you'll simply tie your hook directly to your main line.
- Attach Your Hook: At the end of your leader (or directly to your main line if no swivel/leader), tie on your chosen hook. Again, use a reliable knot like the Palomar or improved clinch. Make sure to wet your line before tightening any knot to prevent friction and ensure maximum strength.
- Add Weights: This is where you'll fine-tune the balance. Start by adding a split shot or two a few inches above your hook (or above your swivel if you're using one). The idea is to use just enough weight to make your slip bobber stand upright in the water with only its bright top visible. This maximizes sensitivity. You might need to experiment a bit – too much weight and the bobber sinks; too little and it lays on its side. You can add more split shot closer to the hook or even above the bobber if you need more casting weight, but generally, the majority of your weight should be close to the bait. Don't forget to consider the weight of your bait itself!
Mastering the Slip Bobber: Advanced Tips and Troubleshooting
Once you've got your slip bobber rig assembled, the real fun begins: putting it to use! But like any fishing technique, there are nuances and common issues that can arise. Learning to adjust and troubleshoot on the fly is what truly turns a good angler into a great one, especially when you're dealing with the ever-changing conditions you might find in Maine.
Adjusting for Different Depths and Conditions
The beauty of the slip bobber is its adaptability. You can change your fishing depth in seconds, which is crucial when trying to locate fish.
- Changing Depth: To adjust your depth, simply slide your bobber stop up or down your main line. Sliding it up increases the depth your bait will sink, while sliding it down makes it shallower. When fishing a new spot, start by adjusting your depth in increments until you find where the fish are holding. This might mean starting shallow and working deeper, or vice-versa, especially when exploring new fishing spots in Maine. Don't be afraid to experiment!
- Windy Conditions: Wind can be a real nuisance, making it hard to see your bobber and causing it to drift too quickly. In windy conditions, consider a slightly larger or heavier slip bobber that offers more stability. You can also add a bit more weight to your line to help keep your bait down and reduce the effect of the wind on your presentation. If you're fishing a broad lake like Sebago Lake, wind can play a significant role, so be ready to adapt.
- Currents: If you're fishing in a river or a lake with a noticeable current, the slip bobber's natural drift is a huge advantage. However, too strong a current can sweep your bait away too quickly or make your bobber lie flat. You might need to add more weight closer to your hook to help your bait stay in the strike zone, or choose a bobber that is designed to sit lower in the water, offering less resistance to the current. Understanding Maine Open Water Line Limits can also help you determine how many rigs you can effectively manage in varying conditions.
Common Mistakes to Avoid for a Frustration-Free Experience
Even with the perfect setup, new slip bobber users can run into a few common snags. Knowing these in advance can save you a lot of headache and keep your focus on the fish.
- Loose Bobber Stops: This is probably the most frequent issue. If your bobber stop isn't snug enough, it will slide freely through the bobber's eye, and your bait will sink all the way to the bottom, regardless of your intended depth. When you tie on your bobber stop, make sure to cinch it down firmly, but not so tight that it damages your line. Test it by trying to slide it by hand – it should require a bit of effort. If you find your bobber stop continually slipping, it might be time for a fresh one or a different brand.
- Too Much Weight: While you need weight to get your bait down, too much will sink your bobber entirely, making bite detection impossible. The goal is neutral buoyancy – just enough weight so that only the bright tip of the bobber is showing. This way, even a light nibble will cause the bobber to dip or lay flat.
- Improper Hook Size: A hook that's too large for your bait will look unnatural and deter fish. A hook that's too small might not get a solid hook set, leading to missed opportunities. Always match your hook size to your bait and the mouth size of the fish you're targeting. For detailed information on specific species, consult resources like the Landlocked Salmon Fishing in Maine or Brook Trout Fishing in Maine guides.
- Casting Challenges: New anglers sometimes struggle with casting a slip bobber rig, especially if the bobber stop is set very high on the line for deep fishing. The key is to use a smooth, arcing cast rather than a forceful snap. Let the weight of the bait and sinkers pull the line out, with the bobber following smoothly. You can also try feathering the line with your finger as it goes out to prevent tangles. Remember, practice makes perfect!
Embracing the slip bobber rig will undoubtedly enhance your fishing adventures in Maine. It grants you the flexibility to explore deeper waters, present your bait more naturally, and detect even the most subtle bites. Take the time to set it up correctly, and you'll quickly discover why it's a favorite technique for seasoned anglers across the state. Now get out there and enjoy the vast and rewarding waters Maine has to offer!
Disclaimer
This article is for general informational purposes only and does not constitute professional advice. Laws, prices and regulations vary by location and change over time. Consult a qualified professional for guidance on your specific situation.