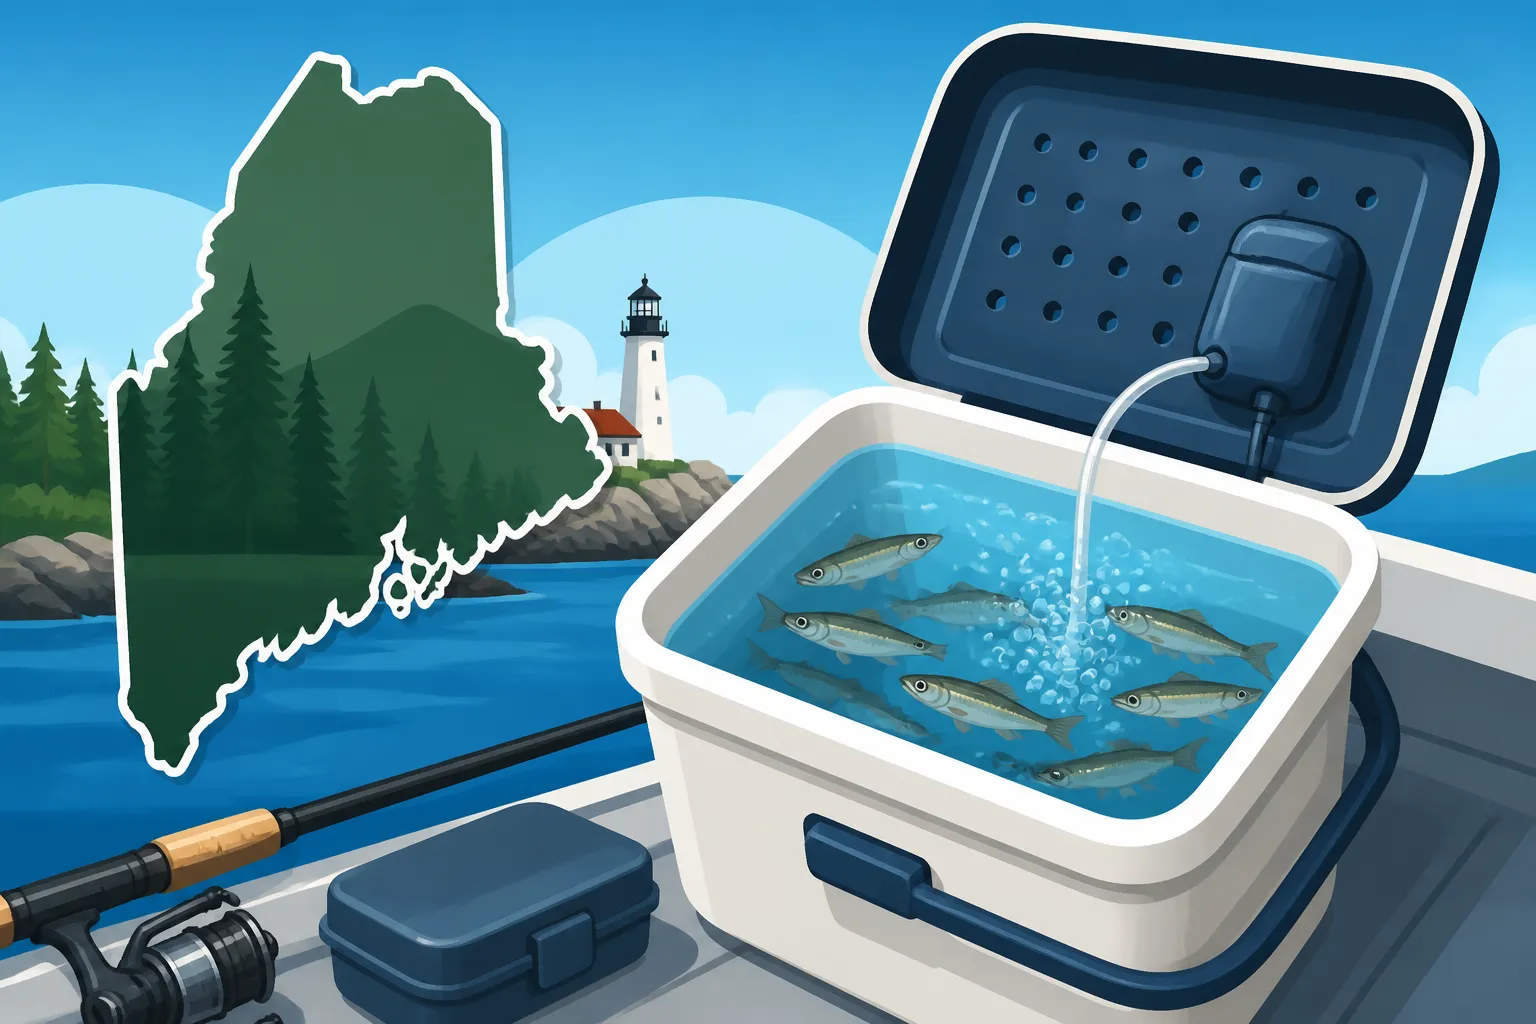
How to Keep Bait Alive on a Fishing Trip
There's nothing quite as deflating on a crisp Maine morning, gear prepped and enthusiasm high, as opening your bait bucket only to find your carefully acquired minnows floating lifelessly or your plump nightcrawlers looking more like dried-up twigs. We've all been there, and it's a frustrating setback that can derail an otherwise perfect day on the water. But keeping your bait lively and enticing throughout your fishing trip isn't just about luck; it's about understanding their needs and implementing a few smart strategies, and this guide is here to walk you through exactly how to do that.
Understanding Your Bait's Basic Needs
Before we even think about gear, it's crucial to grasp that bait, whether it's a wiggly worm or a darting shiner, is a living creature with fundamental requirements. Ignoring these needs is like asking yourself to run a marathon without water – it's just not going to end well. The goal isn't just to keep them technically "alive," but to keep them vibrant and active, mimicking their natural state, which is what truly attracts fish.
For minnows, suckers, shiners, and other small fish, oxygenated water is paramount. Think about it: they spend their entire lives in water that's constantly moving, flowing, or at least exposed to the air. Cramming a dozen into a small, stagnant bucket quickly depletes the oxygen, turning your lively bait into a sad, inert offering. Temperature is another critical factor. Most baitfish thrive in cooler water, similar to their natural environment. Warm water holds less oxygen and also stresses the fish, speeding up their metabolism and, unfortunately, their demise. It's a delicate balance to maintain, especially when the summer sun beats down on your boat or through the ice.
Worms, on the other hand, require a moist, cool, and breathable environment. They don't need water to swim in, but they absolutely cannot tolerate dry conditions. They breathe through their skin, and if that skin dries out, they suffocate. Excess heat also saps their energy and can quickly kill them. It's a common mistake to leave a container of worms baking in the sun, only to find them unresponsive a few hours later. Even leeches, often considered hardy, will suffer in overly warm or dirty water, becoming sluggish and losing their natural attraction. Understanding these core biological needs is the first step toward becoming a bait-keeping pro.
Essential Gear for Bait Preservation
Having the right tools for the job makes all the difference when it comes to keeping your bait thriving. Trying to make do with a subpar setup is often a recipe for disappointment. Investing in a few key pieces of gear will pay dividends in terms of lively bait and, ultimately, more successful fishing excursions.
The Right Bait Container
For minnows and other baitfish, a well-designed bait bucket is your first line of defense. Forget those flimsy, uninsulated buckets; you need something that can maintain a stable temperature. Many anglers prefer insulated bait buckets, often made with sturdy plastic and a foam or double-wall construction, which really helps regulate the water temperature. Look for models that have a wide opening for easy access and a secure lid to prevent spills, especially when you're bouncing around in a boat on a choppy lake or traveling down a bumpy back road. Some even come with built-in aerator clips, which is a fantastic feature. If you're looking for solid options, many reputable brands offer excellent insulated bait buckets, and you can find a wide selection of them on sites like Amazon.
For worms, a dedicated worm box or a sturdy container with proper bedding is essential. These aren't just any old plastic containers. Good worm boxes are designed to allow air circulation while keeping the bedding moist. They often have ventilation holes on the sides or lid. The bedding itself is also crucial; commercial worm bedding is excellent, but you can also use peat moss or shredded newspaper, ensuring it's damp but not waterlogged. The key is to avoid using regular garden soil, which can compact and harbor unwanted pests or chemicals harmful to your worms.
Portable Aerators: The Oxygen Lifeline
If you're keeping baitfish, a portable aerator is non-negotiable, especially on warmer days or if you have a decent number of fish in your bucket. These small, battery-operated devices pump air into the water, ensuring a constant supply of oxygen. It’s like giving your bait a fresh breath of air every few seconds, making all the difference between lively, darting minnows and struggling, stressed ones.
There are many styles available, from clip-on models that attach directly to your bait bucket to submersible aerators that drop right into the water. When choosing one, consider battery life – you don't want it conking out halfway through your trip – and durability. Look for models that are water-resistant, as splashes are inevitable. A good quality aerator, readily available from outdoor retailers or online marketplaces like Amazon, can extend the life of your bait significantly, keeping them active and attractive to fish throughout your Maine Fishing Season Dates Guide. Even if you're just driving a short distance to your fishing spot, turning on an aerator for the journey can make a huge difference in the condition of your bait upon arrival.
Water Quality and Temperature Control
Maintaining the right water temperature is critical for baitfish. A cooler is a fantastic addition to your bait-keeping arsenal, even if your bait bucket is insulated. You can place your bait bucket inside a larger cooler with ice around it (not directly in the bait water!) to keep things chilled. A handful of frozen water bottles or gel packs placed around the bait bucket in a cooler will provide a steady, slow release of cold, without shocking the fish with sudden temperature drops.
When getting water for your baitfish, always try to use water from the source where you'll be fishing, if possible. If not, dechlorinated tap water or bottled spring water is a good substitute. Chlorine is highly toxic to fish, so never use straight tap water without letting it sit out for at least 24 hours to allow the chlorine to dissipate or using a commercial dechlorinator (available at pet stores). Dirty or chemically treated water will quickly stress and kill your bait. Understanding these subtleties in water management can be the secret ingredient to keeping your bait feisty all day long.
On-the-Water Strategies for Lively Bait
Once you're out on the water, the battle to keep bait alive isn't over. In fact, this is where many anglers falter, letting their guard down and neglecting the simple steps that ensure bait remains in prime condition. Consistent care throughout your trip is just as important as the initial setup.
Strategic Placement and Temperature Monitoring
Where you place your bait bucket in the boat can make a huge difference. Avoid direct sunlight, especially on warm, sunny days. The sun can quickly heat the water in your bucket, depleting oxygen and stressing your baitfish. Find a shaded spot, perhaps under a seat or tucked away in a cooler compartment. If you're ice fishing, keeping your bait bucket away from direct sun on the ice, which can reflect and intensify heat, is also wise. Conversely, on bitterly cold ice fishing days, ensure your bucket isn't freezing solid. Some anglers keep their bait buckets inside their portable ice shacks to benefit from the minimal warmth provided by a small heater.
Regularly check the water temperature in your bait bucket. A small, inexpensive fishing thermometer can be incredibly helpful here. If the water starts to get too warm, you have a few options. You can slowly add a small amount of ice (made from dechlorinated water if possible) to gradually cool it down, or, ideally, replace some of the water with fresh, cooler water from the lake or pond you're fishing, provided that water is clean and unpolluted. Remember the importance of slow, gradual changes – sudden temperature shocks are extremely detrimental to baitfish. This constant vigilance is key to having a ready supply of "Best Bait for Maine Ice Fishing" [/blog/best-bait-for-maine-ice-fishing/] or open water.
Water Changes and Handling Techniques
Even with an aerator, the water in your bait bucket will eventually become fouled with fish waste and ammonia buildup, especially with a lot of bait. Changing a portion of the water periodically is an excellent practice. Every few hours, or more often if you have many minnows, replace about a third to half of the water with fresh, cool water from your fishing location. This dilutes waste products and provides a fresh boost of oxygen. Be careful when scooping bait, too. Rough handling, squeezing, or dropping them can cause internal injuries and stress. Use a soft-meshed net to gently retrieve your bait, minimizing physical contact. Remember, the healthier and less stressed your bait is, the more active and attractive it will be to the target fish.
For worms, ensure their bedding remains consistently moist but never waterlogged. If it feels dry, mist it lightly with water. If it's too wet, the worms can drown or get skin infections. Keep them in the coolest, shadiest part of your boat or gear, away from direct sunlight or hot engine compartments. Leeches, while tough, also benefit from fresh, cool water changes, especially if their water starts to look cloudy. A simple rinse and refill from the lake can make them much more appealing when you're targeting species like lake trout, which might be enticed by "Best Bait for Togue" [/blog/best-bait-for-togue/].
Managing Bait Density
It's tempting to cram as many minnows as possible into your bucket, especially if you're expecting a long day or a lot of action. However, overcrowding is one of the quickest ways to kill your bait. Too many fish in a small space means rapidly depleted oxygen, increased waste, and heightened stress levels. A good rule of thumb is to avoid overpacking. Give your baitfish enough room to swim freely without constantly bumping into each other. If you find yourself with too much bait for one bucket, consider splitting it into two, or downsizing your purchase if you routinely have dying bait. This concept of not overdoing it applies to all bait, including those lively worms you're saving for "Best Bait for Brook Trout" [/blog/best-bait-for-brook-trout/].
Post-Trip Bait Care and Storage
The fishing trip might be over, but your bait-keeping duties don't necessarily end when you leave the water. What you do with your leftover bait can impact future trips and even the local ecosystem. Responsible and effective post-trip care is another hallmark of a thoughtful angler.
What to Do with Leftover Bait
First and foremost, never release live bait into waters other than where it was caught. This is a critical rule for responsible angling and is part of the Maine Fishing Regulations Explained. Introducing non-native baitfish or even bait from a different watershed can have devastating impacts on local ecosystems by spreading diseases, parasites, or introducing invasive species that outcompete native fish. If you have live bait left over that wasn't caught from the water you're fishing, it's always best to dispose of it properly – either by freezing it for future use (as dead bait, of course) or discarding it in the trash. This includes minnows, worms, and leeches. Many guides will advise against using any live bait that wasn't sourced directly from the water you intend to fish, precisely to avoid these ecological risks.
If you caught your bait from the same body of water, and you know you'll be back there soon, some anglers will return healthy, lively bait back to the lake or river. However, if they're stressed, injured, or if you're unsure of their health, disposal is still the safest option. A helpful resource for understanding these restrictions is the Maine Fishing License Guide, which often contains sections on bait regulations.
Short-Term Storage for Future Trips
If you want to keep your bait alive for another trip in the near future, proper home storage is key. For worms, transfer them to a larger worm-keeping container with fresh, high-quality worm bedding. Keep this container in a cool, dark place, such as a garage, basement, or even a dedicated worm refrigerator if you're really serious. You'll need to periodically check the moisture level of the bedding and perhaps add a small amount of "worm food" if you plan to keep them for more than a week or two. With proper care, worms can last for weeks, even months, saving you money and ensuring you always have ready-to-go bait. Check out guides on "Best Way to Store Live Bait" [/blog/best-way-to-store-live-bait/] for more specific instructions.
For minnows, keeping them alive at home is a bit more involved, essentially requiring a small aquarium setup. This means a larger tank, a good filter, and an air pump to ensure constant oxygenation. Maintain a cool, stable water temperature. This is more commitment than most casual anglers are willing to make, but for dedicated bait users, it can be a worthwhile project. You'll also need to feed them sparingly. Keep in mind that keeping large quantities of baitfish at home for extended periods can be challenging and often not worth the effort for most anglers. For shorter trips, however, a well-maintained bait bucket with an aerator can often suffice overnight in a cool location.
Responsible Disposal and Cleaning
Finally, always clean your bait buckets and containers thoroughly after each trip. Leftover bait fragments, dirty water, and slime can harbor bacteria and odors. A simple rinse with water, possibly a light scrub with a brush and plain water (avoid harsh soaps or detergents unless you rinse them extremely well), will keep your gear fresh and ready for your next adventure. Ensuring your gear is clean also helps prevent the transfer of any unwanted aquatic hitchhikers between different fishing locations, a crucial part of the "Maine Fishing Laws for Beginners" [/blog/maine-fishing-laws-for-beginners/]. By following these tips, you'll not only have livelier bait but also contribute to healthier Maine waters for everyone to enjoy.
| Bait Type | Primary Need | Ideal Temperature | Key Gear | Handling Tips |
|---|---|---|---|---|
| Minnows | Oxygenated, Cool Water | 50-65°F (10-18°C) | Insulated bucket, portable aerator, cooler | Gentle netting, avoid overcrowding, slow water changes |
| Nightcrawlers | Moist, Cool Bedding | 40-55°F (4-13°C) | Breathable worm box, commercial bedding | Keep bedding damp, avoid direct sun/heat, don't overhandle |
| Leeches | Clean, Cool Water | 50-70°F (10-21°C) | Sealable container, fresh water | Change water regularly, avoid stagnant/warm water |
Disclaimer
This article is for general informational purposes only and does not constitute professional advice. Laws, prices and regulations vary by location and change over time. Consult a qualified professional for guidance on your specific situation.