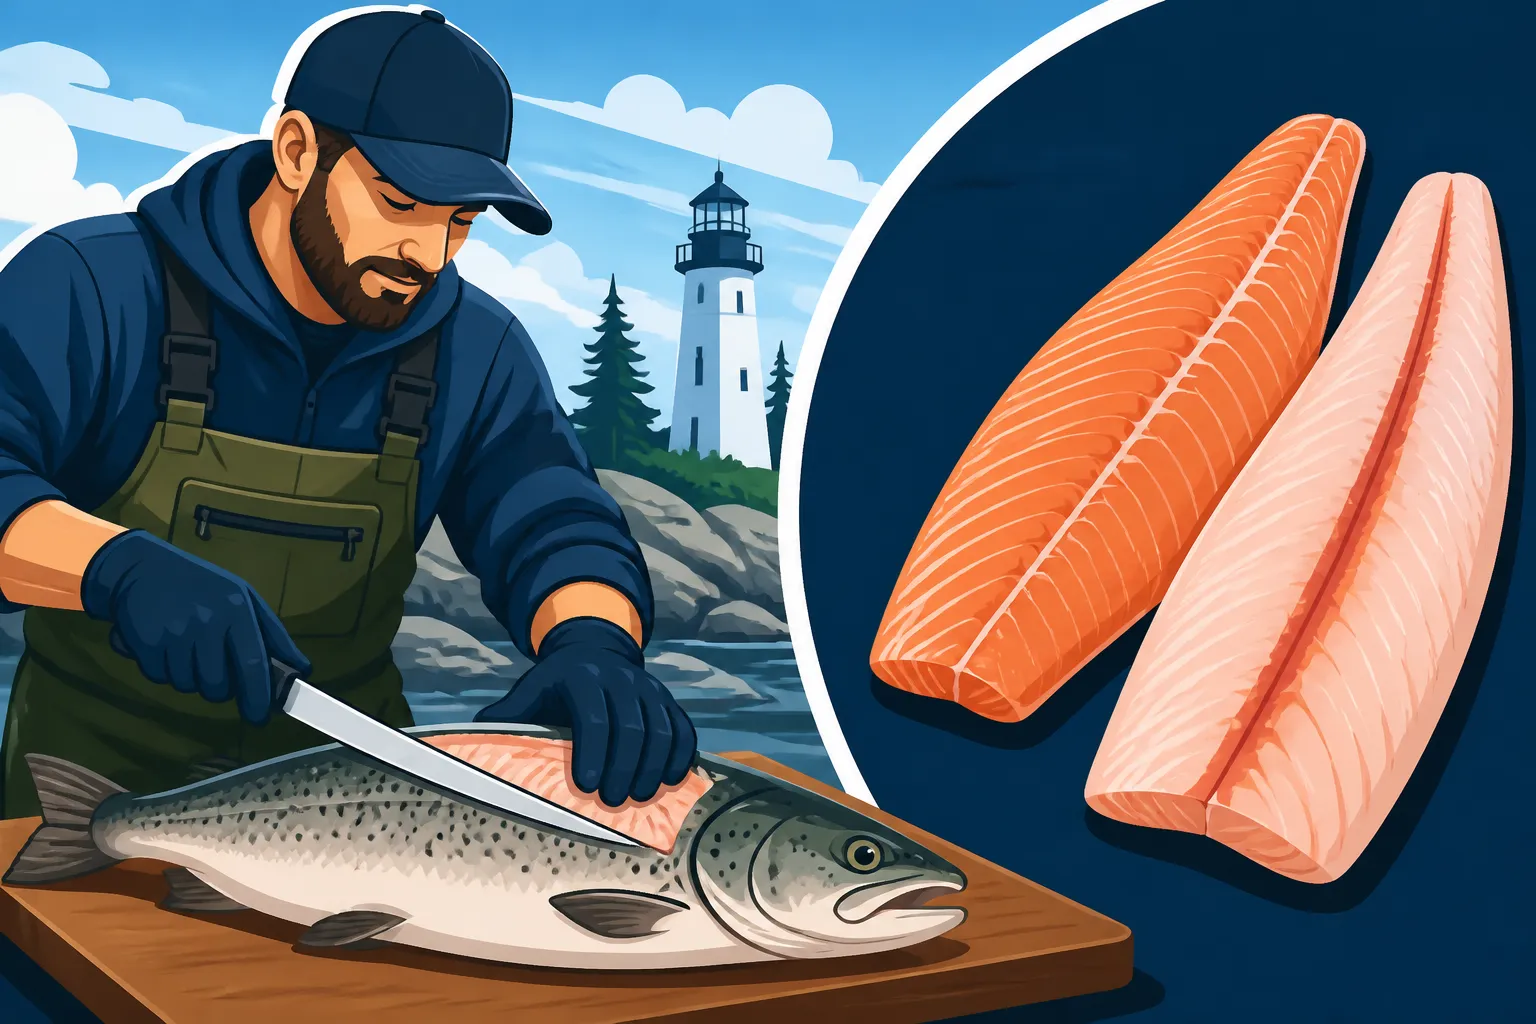
How to Fillet a Fish You Plan to Keep
There's nothing quite like the satisfaction of reeling in a beautiful fish in Maine, whether it’s a feisty brook trout from a pristine stream or a powerful striped bass from the coast. But once you've made the decision to keep your catch, a new challenge often arises: how do you turn that whole fish into a delicious, boneless fillet without making a mess or wasting precious meat? It can feel intimidating, especially if you're new to it, but don't worry! This guide is here to walk you through the process, step by step, so you can confidently fillet your fish and enjoy the freshest possible meal right from your kitchen.
Preparation is Key Before the Knife Touches the Fish
Before you even think about making that first cut, a little preparation goes a long way. Trust me, trying to fillet a slippery, unmanaged fish on a small, unstable surface is a recipe for frustration and potentially a less-than-perfect fillet. Setting yourself up for success beforehand will make the entire process smoother, safer, and ultimately more rewarding. Think of it like setting the stage for a culinary performance – you want everything just right.
Essential Tools You'll Need
Having the right gear isn't just about making the job easier; it's also about safety and efficiency. You don't need a professional chef's kitchen, but a few key items will make a world of difference.
First and foremost, you need a good fillet knife. This isn't just any kitchen knife; a fillet knife has a thin, flexible blade, usually between 6 and 9 inches, designed specifically for separating meat from bone and skin. A sharp knife is a safe knife – a dull blade requires more force and is more likely to slip. You might even consider having a knife sharpener or a honing steel nearby to keep that edge pristine throughout the process, especially if you're filleting multiple fish. Many anglers find excellent, durable fillet knives from trusted brands readily available on platforms like Amazon, offering a range of styles and price points.
Next up, you'll need a stable cutting surface. A large, non-slip cutting board is ideal. Wood can be nice, but a sturdy plastic board that won't absorb fish odors is often more practical. Some boards even have clamps or rough surfaces to help hold the fish in place, which is incredibly helpful when dealing with a slippery catch. Additionally, grab a few clean rags or paper towels to keep your hands and the work surface dry and clean. A large bowl or a second cutting board for the fillets, and another for the fish carcass and scraps, will help keep your workspace organized and hygienic. Finally, consider a pair of cut-resistant gloves if you're new to filleting or just want an extra layer of protection – those blades are sharp!
Cleaning and Handling Your Catch Prior to Filleting
Once you’ve got your tools ready, it’s time to prepare the fish itself. Proper handling of your catch from the moment it leaves the water until it's on your cutting board is crucial for both taste and texture. If you've just come off the lake or ocean, remember that fish quality starts to degrade quickly in warmer temperatures.
The first step, which many seasoned anglers swear by, is bleeding the fish immediately after catching it. This is particularly important for species like Striped Bass Fishing in Maine or salmon. You can do this by making a quick, clean cut across the gills. Bleeding removes blood from the flesh, resulting in a cleaner, milder-tasting fillet and better appearance. After bleeding, ensure your fish is kept cold. I mean really cold. Pack it on ice in a cooler, making sure the fish is submerged in ice, not just resting on top. This dramatically slows down spoilage and firms up the meat, making it much easier to fillet cleanly. Don't let your beautiful catch sit in warm water or directly in the sun; that's a surefire way to compromise its quality.
Before placing the fish on your cutting board, give it a quick rinse under cold running water. This washes away any loose scales, slime, or debris that might be clinging to its exterior. Pat it dry with a towel or paper towels. A dry fish is easier to handle and less slippery, which again, contributes to safer and more precise cuts. If you're concerned about handling the fish, especially larger ones, consider putting on those cut-resistant gloves now. With these preparations complete, you're ready to start the actual filleting process, confident that your tools are sharp, your workspace is clean, and your fish is in prime condition.
The Filleting Process Step-by-Step for Success
Now for the main event! Filleting a fish might seem daunting at first, but with a bit of practice and patience, you'll be slicing through like a pro. Remember, every fish is a little different, and you'll develop your own rhythm and technique over time. The goal is to maximize the amount of meat you get while minimizing bones and waste.
Mastering the First Cut Behind the Gills
This initial cut sets the stage for the entire fillet. Place your fish flat on the cutting board, usually with its back towards you and its head pointing away. Hold the fish firmly by the head or just behind the gills. For a secure grip, especially on larger species, some anglers recommend wearing a glove on your non-dominant hand or even using a small towel to prevent slippage.
With your sharp fillet knife, make a firm, downward cut directly behind the pectoral fin (the one just behind the gill plate), all the way down to the backbone. You're aiming for a clean, perpendicular cut that runs from the top of the fish's back to just above the belly cavity. Don't cut through the backbone yet – just feel for it with the tip of your blade. This cut creates a starting point, a clean edge from which you'll begin to separate the fillet. It's like finding the seam on a piece of fabric before you start tearing it. For beginners, it might feel a bit awkward, but remember to let the sharpness of the knife do the work, not brute force.
Separating the Fillet Working Along the Spine
Once that initial cut is made, rotate your knife so the blade is now parallel to the fish's backbone. Gently, start to slide your knife horizontally along the top of the backbone, working your way towards the tail. Keep the tip of the blade pressed against the spine as much as possible. This is where the flexibility of a good fillet knife truly shines, allowing the blade to contour to the fish's skeletal structure.
Use long, smooth, and steady strokes rather than short, jerky ones. The goal is to keep the blade consistently against the bone, peeling the meat away in one continuous piece. You’ll feel the resistance of the ribs and backbone as you go. For some fish, you might need to lift the fillet gently with your free hand as you cut, creating tension that helps the blade slide more easily. If you accidentally cut into the bones, don't fret; just adjust your angle slightly. The more you practice, perhaps on a few Brook Trout Fishing in Maine or similar species, the more intuitive this motion will become.
Once you reach the tail, you can either cut the fillet completely free or leave a small piece of skin attached at the tail end. Leaving it attached provides a convenient handle for the next step: skinning. Repeat this entire process on the other side of the fish to yield your second fillet. Take your time, focus on the feel of the blade against the bone, and you’ll soon be rewarded with two beautiful, mostly boneless sections of fish.
Removing the Rib Bones and Skin for a Clean Fillet
You’ve got your two main fillets, but chances are they still have a strip of rib bones attached along one edge, and of course, the skin. Let’s tackle the ribs first. Lay your fillet skin-side down on the cutting board. You’ll see the curve of the rib bones. Carefully slide your knife underneath the rib cage, starting from the thickest part where they attach, and gently angle the blade upward, following the curve of the bones.
Use a sawing motion or a long, smooth cut to separate the entire rib cage section from the fillet. Aim to remove the bones with as little meat as possible. You can trim away any small bits of meat clinging to the removed rib cage and add them to a bowl for fish stock later – minimizing waste is a key part of smart fishing. If you’re ever curious about How to Plan a Multi-Day Fishing Trip where you’d be processing multiple fish, mastering this step is a game-changer for efficiency.
Now for the skin. If you left a small piece of skin attached at the tail end, hold this "handle" firmly. Place the fillet skin-side down on the board. With your knife angled slightly downwards, almost parallel to the board, start cutting between the skin and the meat. Keep the knife blade as flat as possible against the skin, and use a slight sawing motion while pulling the skin firmly towards you with your free hand. The goal is to separate the meat from the skin cleanly, leaving behind only the skin. If you choose to remove the skin without the tail-handle method, you can start from the head-end or any corner, lifting a small edge of the skin and working your way down. Again, a super-sharp knife makes this step incredibly easy. Now you have two beautiful, boneless, skinless fillets, ready for their next adventure!
Post-Fillet Care and Storage Keeping Your Catch Fresh
You’ve done the hard part – you’ve successfully filleted your fish! But the journey from water to table isn't over yet. The way you handle and store your freshly cut fillets will directly impact their taste, texture, and shelf life. Proper post-fillet care ensures that all your hard work on the water and at the cutting board truly pays off.
Washing and Drying Your Fillets Properly
After filleting, your beautiful pieces of fish will likely have some residual blood, small scales, or bits of membrane clinging to them. A quick, thorough rinse is in order. Place your fillets under cold, running water. Avoid using warm or hot water, as this can start to cook the delicate proteins and affect the texture. Gently rub the fillets to remove any lingering debris, paying special attention to areas where the ribs were removed or along the cut edges.
Once rinsed, it’s critical to pat your fillets thoroughly dry. Moisture is the enemy of fresh fish storage, as it promotes bacterial growth and can lead to a mushy texture. Lay the fillets on a clean, absorbent surface like paper towels, and then gently pat them dry with more paper towels. You want them as dry as possible, almost to the point where they feel slightly tacky. This step might seem minor, but it's a huge factor in preserving the quality and flavor of your fish. If you’re planning on cooking them right away, such as preparing a delicious Best Way to Cook Fresh Brook Trout, drying them thoroughly also helps achieve a beautiful sear and crisp skin (if you chose to leave it on).
Proper Storage Methods for Maximum Freshness
Once your fillets are clean and dry, it’s time to prepare them for storage. How you store them depends on how quickly you plan to eat them. For immediate consumption within a day or two, refrigeration is your best bet. Place the dry fillets in an airtight container or wrap them tightly in plastic wrap, then place them on a bed of ice in your refrigerator. Make sure the container allows any melted ice to drain away, so the fillets aren't sitting in water. This method keeps them chilled to the optimal temperature, maintaining freshness.
For longer-term storage, freezing is the way to go. The absolute best method for freezing fish is vacuum sealing. A vacuum sealer removes all air from the packaging, preventing freezer burn and extending the shelf life of your fillets significantly. You can find excellent home vacuum sealers and compatible bags on sites like Amazon. If you don't have a vacuum sealer, you can still freeze fish effectively using heavy-duty freezer bags or by wrapping fillets tightly in plastic wrap and then foil. For an extra layer of protection against freezer burn, you can even try the "ice glazing" method: freeze your fillets unwrapped, then quickly dip them in water, allowing a thin layer of ice to form, and repeat a few times before final packaging. No matter the method, always label your packages with the date and type of fish. Knowing your Maine Fishing Season Calendar can help you organize your frozen bounty, ensuring you always know what you have on hand and when it was caught.
Common Mistakes and Troubleshooting Learning from Experience
No one becomes a filleting expert overnight. We all make mistakes, especially when learning a new skill. The key is to learn from them, understand why they happen, and adjust your technique for next time. Even seasoned anglers can occasionally misjudge a cut or find a tricky fish. Don't let a few less-than-perfect fillets discourage you; embrace it as part of the learning process!
Dealing with Uneven Cuts and Missed Meat
One of the most common frustrations for beginners is ending up with uneven fillets or, worse, leaving a significant amount of meat on the backbone or rib cage. If your cuts are a bit jagged, or you find you’re not getting a clean separation, it often comes down to a few factors. First, check your knife. Is it truly razor-sharp? A dull knife will drag and tear, making precise cuts nearly impossible. A few strokes on a honing steel can often bring the edge back to life. If your knife is consistently dull, it might be time for a professional sharpening or even a new blade, easily found through online retailers or local sporting goods stores.
Secondly, analyze your technique. Are you keeping the blade consistently against the bone? Sometimes, people tend to angle the blade away from the bone, leaving meat behind. Try to really feel the backbone with the blade as you cut, letting the flexible tip guide you. If you finish filleting and see substantial meat left on the carcass, don't throw it out! Take a spoon and scrape along the backbone – you can often salvage a surprising amount of meat for fish cakes or chowder. Or, if you're feeling adventurous, try cooking the whole fish frame and picking the meat off later. Remember, practice truly makes perfect. The more fish you fillet, the better your muscle memory will become, and the cleaner your cuts will be.
Minimizing Waste and Maximizing Yield
As responsible anglers, we strive to utilize as much of our catch as possible, honoring the fish and minimizing waste. Leaving too much meat on the frame is a missed opportunity, but the good news is there are many ways to make the most of your catch beyond just the prime fillets.
Beyond scraping the backbone for extra meat, consider using the fish head and frame to make a delicious and nutritious fish stock. This is a fantastic way to impart flavor into soups, sauces, or even rice dishes. Just simmer the bones and head with some aromatic vegetables (onions, carrots, celery) for an hour or two, then strain. It’s a simple process that transforms what would otherwise be waste into a valuable culinary ingredient. Don't forget about the fish cheeks, especially on larger species like a healthy Lake Trout and Togue Fishing in Maine catch. These small, tender morsels are often considered a delicacy and can be easily removed with a small spoon or knife.
Even if you’re not planning to use every single part, consciously aiming to get as much clean meat off the bone as possible is a mark of a skilled angler. Each time you fillet, take a moment to look at the remaining carcass. Did you miss a spot? Could you have gotten closer to the bone? This self-assessment, even after you’ve cleaned up, is how you improve. By minimizing waste and maximizing your yield, you’re not only getting more delicious meals, but you're also showing respect for the resources you've harvested, a core tenet of responsible Maine Fishing Regulations Explained. Happy filleting, and enjoy your Maine catch!
Disclaimer
This article is for general informational purposes only and does not constitute professional advice. Laws, prices and regulations vary by location and change over time. Consult a qualified professional for guidance on your specific situation.